Photographing orchids

Slippertalk Orchid Forum

Help Support Slippertalk Orchid Forum:

This site may earn a commission from merchant affiliate links, including eBay, Amazon, and others.

The Orchid Boy

Well-Known Member
Joined
Sep 9, 2012
Messages
1,752
Reaction score
0
Location
Nebraska
I have many orchids with beautiful blooms but the picture I take "don't do them justice", especially of a red/crimson potinara I have. Any tips for taking pictures inside? I've taken photography classes and have a nice camera. I take really nice pictures of landscapes, flowers, animals, people, ect. outside. I really like the pictures where the background is all black and they cover the stem w/ black. I know a lot of people on here are good orchid photographers, so what's your advice everyone?
 
I post two types of pictures on various orchid sites.

The first ones are the pictures I take when visiting a nursery or a friend. These are taken with my Canon SX200, a bit bigger then a standard compact but still easy enough to take with you.

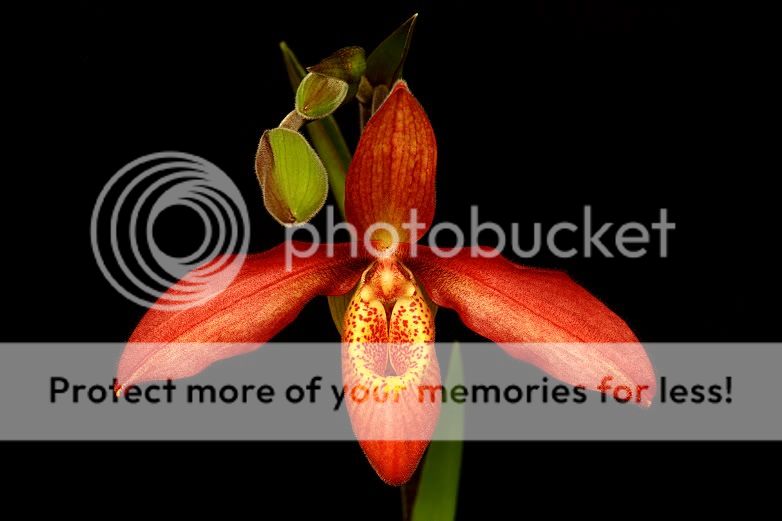
If I want to do posed flower shots with a black backdrop like this one:

IMG_3449.jpg


I make use of the following:

My Canon 400D DSLR
Sigma 105mm Macro
Manfroto tripod with ballhead
Wire remote for operating the camera

Processing software, I mainly use GIMP as it's opensource software which can be downloaded from the net free of charce. Photoshop is also very good but also very expensive if you buy it.

I normally setup my backdrop and plants close to a window so I make maximum use of the natural light and combine this with a longer exposure time if required. I always shoot in RAW and I'll convert the pictures to JPG after I've done the post processing.

I'm not going to explain the post processing bit as there are plenty of good guides to be found on the net.
 
Dot Potter, SlipperFan, posted a thread about taking nice photos. Unfortunately I am usually not home during the daylight and only have time to snap photos as I'm rushing somewhere so I just ignore her wisdom! :(
 
I'm addicted to the wire remote.
Been shooting RAW for a while. I'll never go back.
 
I use a good camera, tripod and wire remote. Light measure is always at "spot metering " so I can adjust exposure compensation.

I always shoot in Raw.

I've found red and strong orange flowers very difficult to shoot until I decided to adust the saturation in the camera. The saturation of the picture added by the camera is now very low. I correct it in Camera Raw /Photoshop Element. By doing this I keep more details.

I often adust the white balance (by measuring it before I take the picture... or more often with Camera Raw /Photoshop Element, wich is always easy to do).
 
To make the background black, you just want to use the contrasting light. So flower should get lots of light and the background shouldn't get much light. An easy and simple way is to illuminate the flower with a CFL in a reflector or some directional light source and take photos when the ambient light is low. Since the sensors have relatively narrow dynamic range compared to human eyes, the background doesn't has to be completely dark, and as long as there is enough difference in the intensity of light between the foreground and background, you'll get the "black" background. Make sure that the light is dropping only on the flower. If you have a choice, it would be better to use a longer focal length (to minimize the included background area).

If you can have a remote flash (or several flashes), it is easier to control many aspects of photos. You can get pretty cheap radio flash triggers from ebay (e.g. Yong-nuo RF-603). Also you can use other light modifier like soft-box to make the flash "softer".

Alternatively you could use a background cloth like black velvet-like material.
 
I took an excellent picture of a beautiful noid phal. It really looks professional. I wrote down the steps and light I used so I could do it again. I didn't use any lights except the glow of a ceiling fluorescent light 5-10 feet away. I also turned off all lights behind the flower. So I didn't use a background or flash either.
 
In light of that...

What I find funny about the opinions of those who haven't attempted to make anything other than a snapshot is their belief that photographs are somehow real, rather than being representations of real things. Photography is manipulation of reality from the get go, so I say, go for it. If you can make a photo "better than" real life, do it.

Light of course is the key and knowing how to manipulate it. In taking photos against a very dark (or distant and dim) background, one needs to make sure the light isn't too unidirectional or odd darkening can occur on parts of the subject. Sometimes that's OK, sometimes it is a problem.

The ideal place to photograph against a dark background is outside in bright, diffuse light (light coming in from every direction), or some equivalent. Otherwise you need to add light artificially and from more than one direction. A simple, cheap solution is reflecting light onto the subject from below, above or at the sides, depending on the need. Aluminum foil does an admirable job.
 
Dot Potter Barnett
Sorry, I told you I was always in a rush! :p

What I find funny about the opinions of those who haven't attempted to make anything other than a snapshot is their belief that photographs are somehow real, rather than being representations of real things. Photography is manipulation of reality from the get go, so I say, go for it. If you can make a photo "better than" real life, do it.

Light of course is the key and knowing how to manipulate it. In taking photos against a very dark (or distant and dim) background, one needs to make sure the light isn't too unidirectional or odd darkening can occur on parts of the subject. Sometimes that's OK, sometimes it is a problem.

The ideal place to photograph against a dark background is outside in bright, diffuse light (light coming in from every direction), or some equivalent. Otherwise you need to add light artificially and from more than one direction. A simple, cheap solution is reflecting light onto the subject from below, above or at the sides, depending on the need. Aluminum foil does an admirable job.

What the F??? :eek:
 
Here is what my studio looks like:
settings.JPG
20120719.JPG


I place the subject far enough from the black screen (t-shirt...) so that the background comes out blackish.
The picture on the right wasn't edited.
 
I place the subject far enough from the black screen (t-shirt...) so that the background comes out blackish.

Me too. The space is almost a meter.
Pushing the contrast slider to the right might of helped my snapshots as well.
 
Well, I don't belong to the "professional crowd" when it comes to taking pictures of orchids. I believe I'm decent for a noob and if I really committed myself, I might end up at least a decent photographer. I don't have fancy camera, in fact I just realized it's seven years old, it's a rather simple digital camera with a bad tendency of eating batteries and some focusing issues.

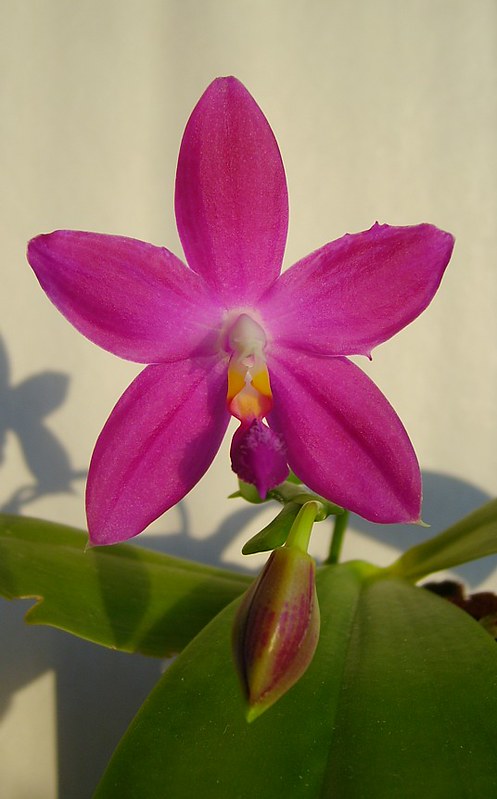
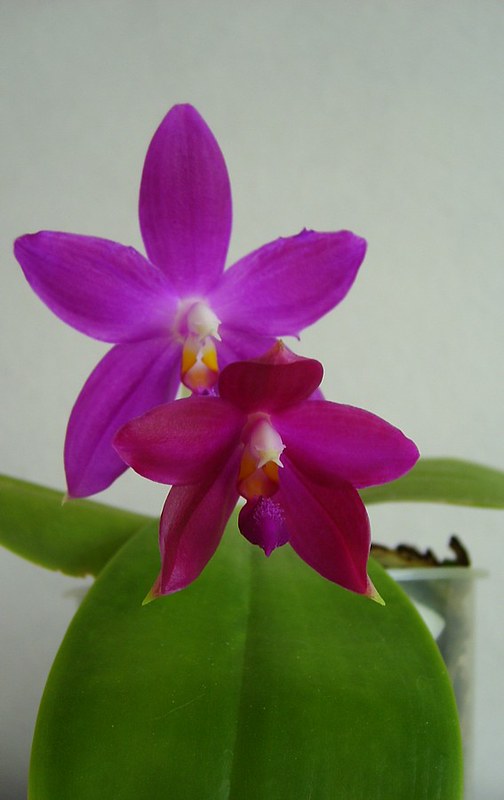
What I have discovered though, is that some orchids colours are almost impossible to capture correctly. This is especially true with my Phal. Jennifer Palermo. For the camera to get the colour right (or rather, it does get it right, but it's not what my eyes see so it looks wrong) I have to take pictures of it in direct sunlight, otherwise it always looks too blue.

Here are two examples of what I mean, the first picture is taken in direct sunlight (albeit very yellow sunlight since the sun is so low in the sky), and the second in daylight. The red colour HAS faded, but not as much as it appears in the second picture.

8257786834_6f6a086d2f_c.jpg


8256716689_050236cde8_c.jpg


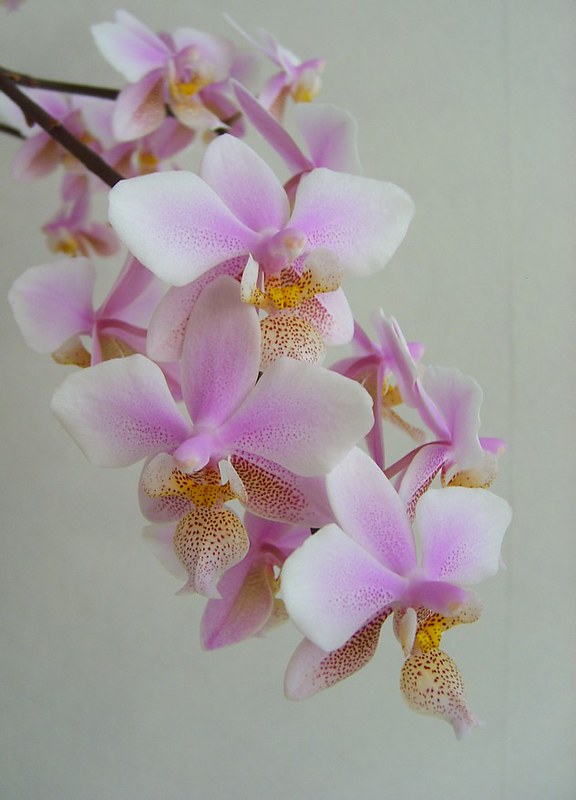
Here's a picture of my Phal. Wiganiae, also taken in daylight, and the colour is very close to how I perceive it in real life:
8256717625_822f78ddd0_c.jpg


So, as a happy amateur I would say that the light is the most important issue (at least it is for me).
 

Latest posts

Back
Top