The growing areas MEGATHREAD!

Slippertalk Orchid Forum

Help Support Slippertalk Orchid Forum:

This site may earn a commission from merchant affiliate links, including eBay, Amazon, and others.
I like looking at others grow areas so much I though I'd post some pics of my summering area. Didn't know how I was gonna get 'em all back into the wintering area, until I recently got a little space in a greenhouse at UM on top of my building, score!!!

Sunny south facing side of porch...
DSCF7475.jpg


I like to hang things to keep the slugs and snails out...
DSCF7474.jpg

DSCF7473.jpg

DSCF7471.jpg


and a sunny rack with a few different light zones to utilize...
DSCF7472.jpg


Forrest
 
Your plants look very happy on your porch and outdoors, Forrest. And that's a beautiful staghorn fern on that tree! That might take up a little space indoors, as well!
 
David, missed your post pics of the grow area. Looks very nice. The plants seem to love it. I notice the plastic insulation, much needed in Canberra. As Dot said there is a bit of space there also. I have some now also since the repotting marathon. I finally got the Paphs sorted out, all 650 of them. Used to have 10 Phrags, now 22.
 
My 'old timer' GH

OK - here it is, my 15 year old GH, hopefully it will be replaced next year.
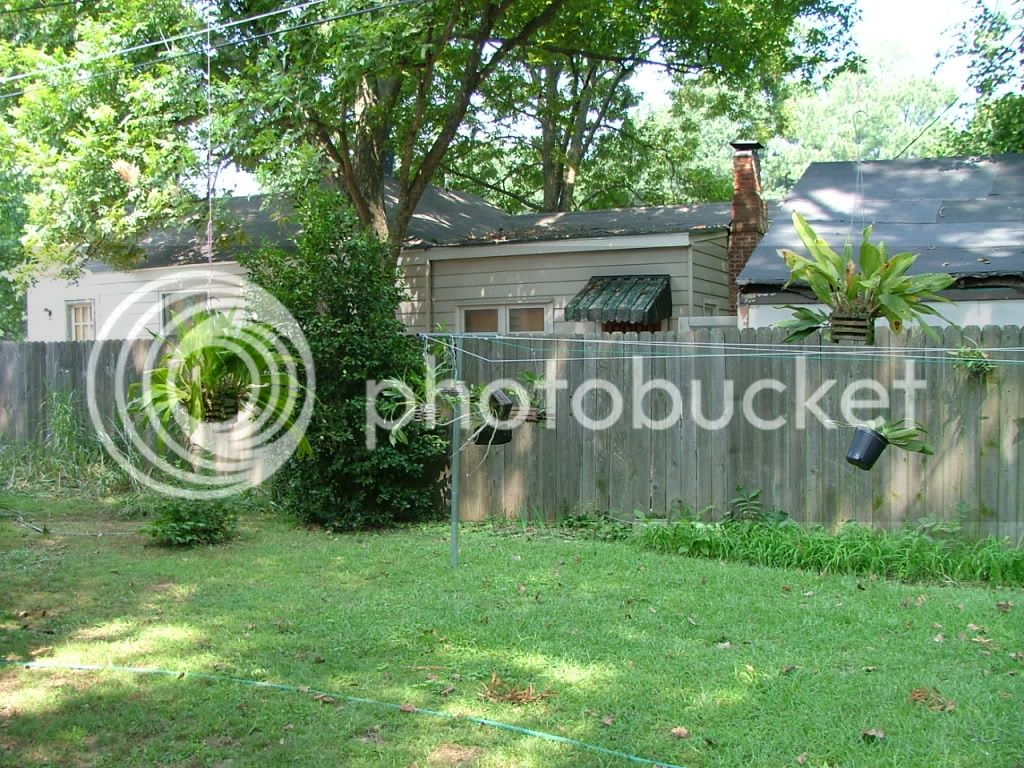
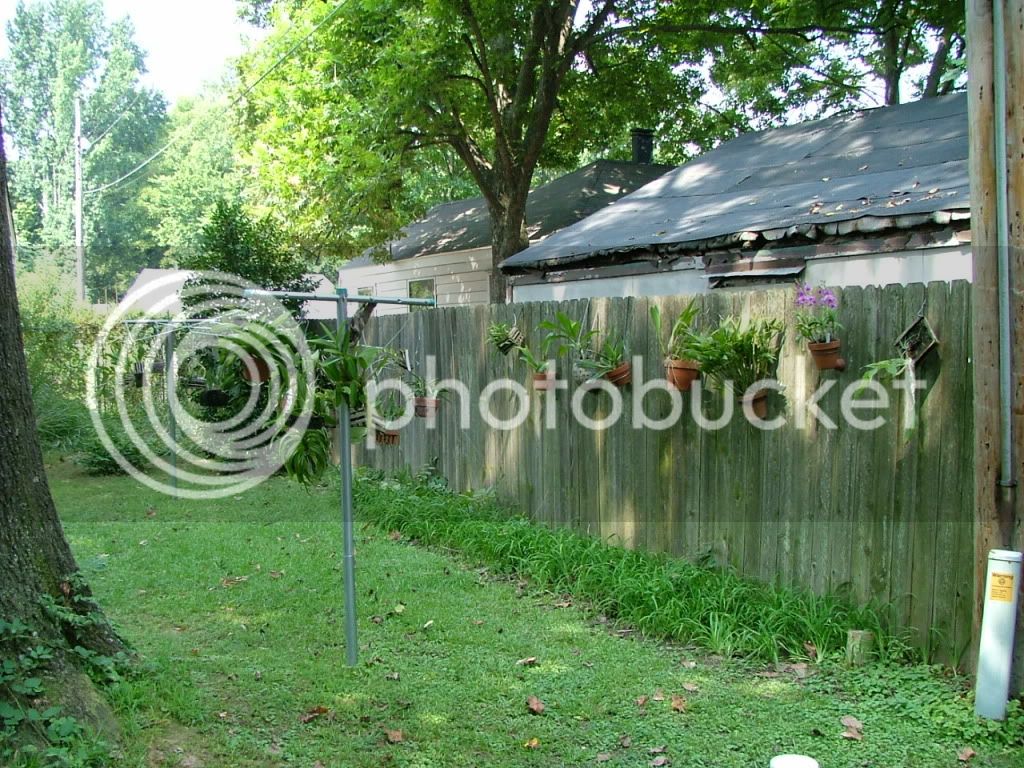
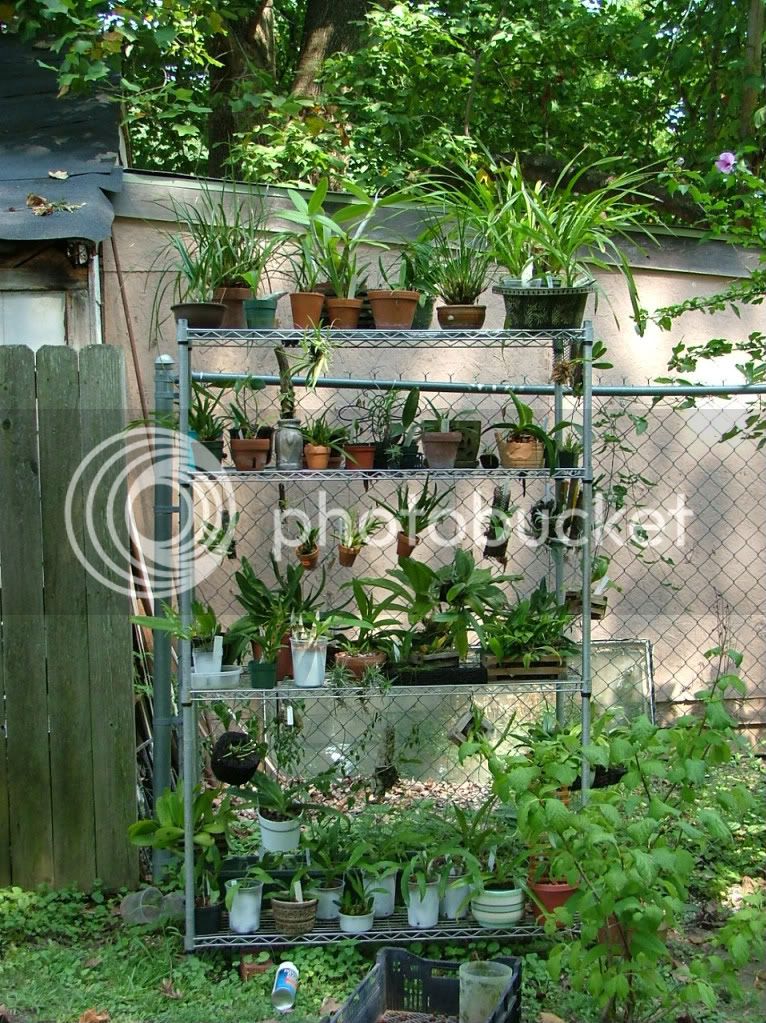
The front & sides, notice my rolled up aluminet.
myGH012.jpg
myGH008.jpg
myGH009.jpg

Now the aluminet is down.
myGH002.jpg
myGH001.jpg

I described to my husband what I wanted, I said there's got to be an easy way to drop the shade during the sunniest part of the day & once the sun moves to the west the GH is naturally shaded, I don't need the shade of the aluminet. This is what he came up with - we attached the aluminet to pvc pipe using plastic snap grommets & plastic coated wire, and 3-4 looong pieces of nylon string, each end & the center. The pvc was then attached to the very top of the GH. A second pvc pipe was attached to the bottom of the aluminet. A steel rod was inserted for weight. When the aluminet is down on the east side the string is under it. We then attached a washer to the end of ech string & flipped them over to the other side of the GH. The strings got attached to another pvc pipe, (drill holes, feed them thru & tie 'em off), this piece also having a steel rod in it, they will act as counterweights. It takes some playing around to get the length of the strings correct, once that is established then I would go to the west side, push the bar up, the counterweight on the east side takes over & the shade drops! Back to the west side, pull the bar down, the shade comes up! Sounds easy enough right? Just a couple of problems, I'm too short to reach the bar to pull it down! OK add some more strings! So now I pull 2 strings until I can reach the bar, pushing it up presented a similar problem, the counterweight wasn't able to kick in so I have a short pvc pipe to push it up the rest of the way. Notice the piece of black shade cloth. The bessie type phrags were getting a bit too much sun so I attached that so as the shade goes down on the east it comes up on the west!
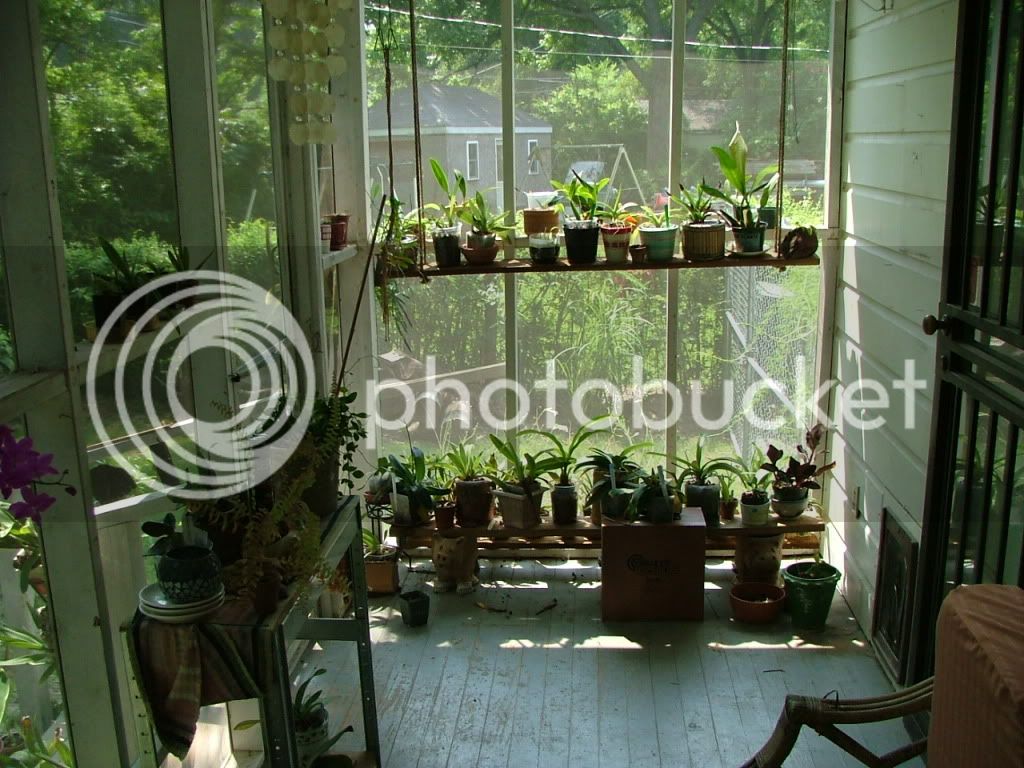
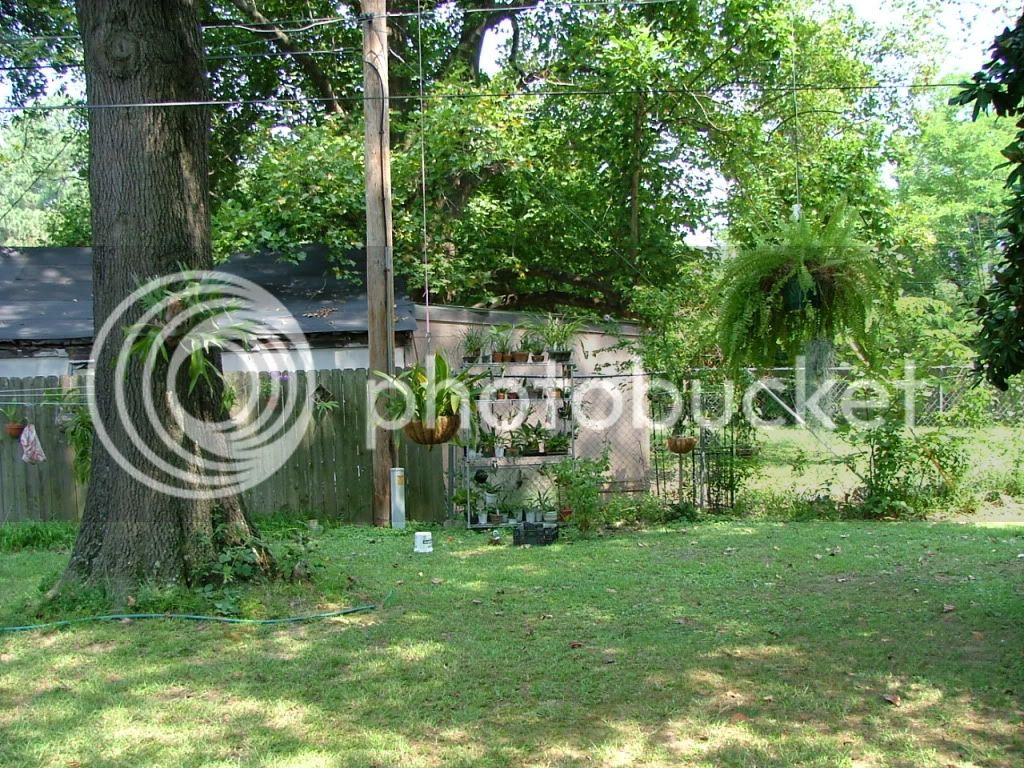
There's the outside, the inside will be continued - I gotta go to work!
 
It's a Sunglo, which yes comes as a kit. As one can tell my hubby is pretty handy & his brother is a general contractor, they put it up in a weekend. It's 75.' x 12.5'.
If you're considering a kit type GH do your shopping in the winter. We found nice discounts at this time of the year & they will hold & ship in spring.
 
continued - the inside.

There are 3 levels of benches/shelves with the upper all having plexiglass shields so water doesn't fall on top of plants below. The floor is 16" x 16" aggregate block with 12" x 12" cushy rubber blocks in the aisle. While the whole GH is considered double wall, a few years ago I insulated with clear bubblewrap & foil backed bubblewrap, so I'd like to think it's equivalent to at least a triple wall.
myGH016.jpg
myGH017.jpg

The south end has the high light slippers & I let some catts, a few dends & a few miscellaneous in. While the north end has slippers on one side & the swamp phrags on the other.
myGH018.jpg
Lower front mini catts, phrags & phals on the left, the brachys one the right.
myGH015.jpg
myGH013.jpg
 
Part 3 - the end

The lower right side has an 8' flourescent fixture, it was a bit too shady, most of the seedlings are there. The left side has 2 rainbarrels in the winter & the Modine Hot Dawg gas furnace.
myGH014.jpg

Hanging from the celing is the cynoches, Fredclarkea After Dark, gongoras a variegated hoya
myGH024.jpg
myGH023.jpg

Between the house & the GH is a gate, there's a small 5" pond, I'd like to be a bog garden one day. Along the backside of the house near the GH is my potting bench & supplies.
myGH005.jpg
myGH004.jpg

The tour has concluded, hope you enjoyed!
 
What are going to replace it with? Is it the lexan that's failing or??
Knock on wood, nothing is failing, we didn't want it to get to that point, with my luck it would happen dead of winter. It's not yellowing or brittle, I'm don't think one would call this lexan, too me it's more flexible, the outside layer is smooth flat as one can see, then there's a second corrugated layer inside.
It would probably be replaced with lexan, double a minimum, though I'd like triple, hubby doesn't feel for the price difference there's enough of an R value difference. I'd change the orientation of the GH and run it E-W, I could benefit from natural breezes in the summer. The back or north wall will be a double wall concrete block, gee it's nice to have a brick layer friend that's needs to unload left over material from job sites!
 
Thanks guys!
Surprisingly 15 years later, there's only a few changes I'd make on the next one.
-- with lots of room for more plants.
hey, I'm open for suggestions as to where there'd be more room! I think I've used almost every square inch! :wink:
 

Latest posts

Back
Top